Overview[ | ]
Mining refers to the activity of Harvesting earth-based and metal-based blocks in order to obtain basic resources, such as Clay Soil, Small Stone, or Raw Iron. As in all types of Harvesting, materials are extracted from blocks as they are damaged and/or destroyed by your Mining efforts.
Mining Tools[ | ]
While Mining can be done using your Fists, doing so would be tedious and painful. Equipping an Appropriate Tool will greatly speed up the process of destroying the block you are mining in order to extract its resources. Tools used for mining hard-earth blocks (such as Stone) and metal-based blocks (such as Iron Ore) include the Stone Axe, the Iron Pickaxe, and the Steel Pickaxe. For soft-earth blocks (such as Dirt or Forest Ground), utilize the Stone Shovel, the Iron Shovel, or the Steel Shovel. The ultimate mining tool, the Auger, is excellent for all types of earth-based and metal-based blocks.
Mining Efficiently[ | ]
- Your Mother Lode (Perk) will increase the number of resources you harvest from ore blocks, stone blocks, terrain blocks, or trees.
- Your Miner 69er (Perk) increases your Block Damage and decreases your stamina degradation when hitting blocks while using Mining Tools.
- There are a variety of Mods you can install on your mining tool in order to increase its Block Damage.
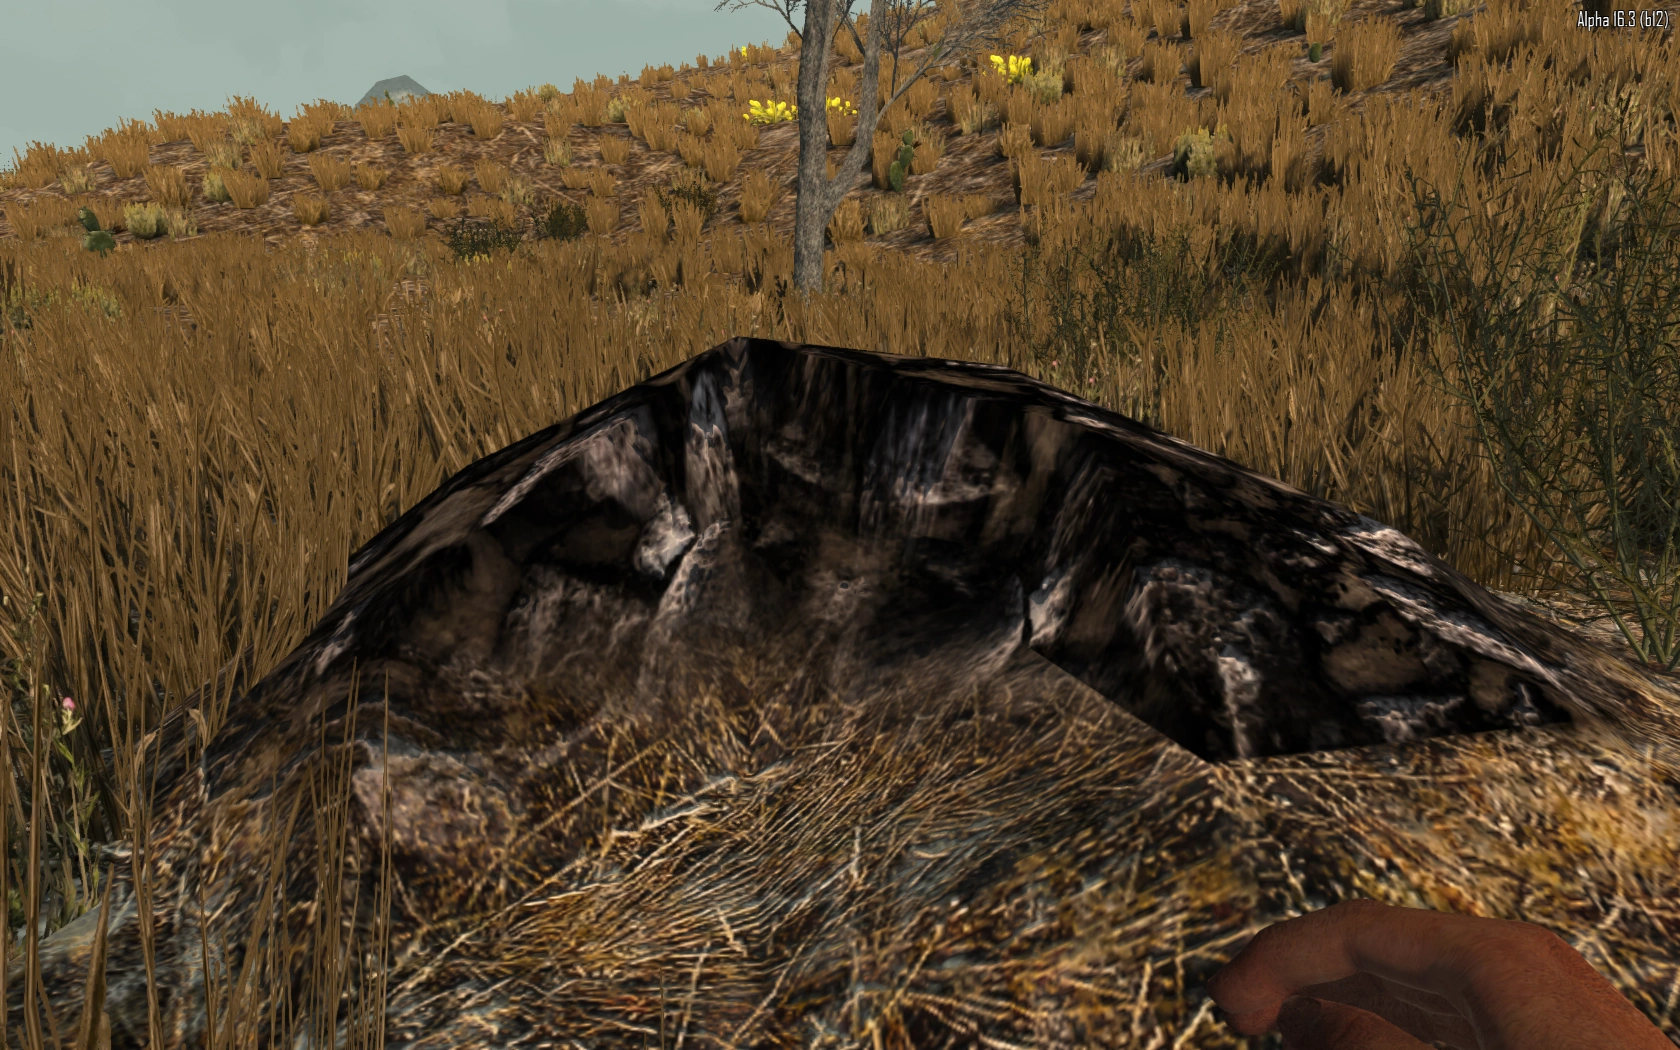
Surface Rocks[ | ]
Mining surface rocks is a good way to quickly obtain Small Stone and Iron, and they have a chance to give you Lead Ore, Nitrate Powder, and Coal Ore with each hit of your tool. When in the early game, or if you are struggling to find these resources underground, surface rocks will give you a decent supply of these resources until you strike a vein underground.
Ore Surface Deposits[ | ]
Each habitable biome can have small piles of ore appear above ground. A surface deposit has about 7 blocks of ore, and they do not extend below the surface. The types of surface deposits found depends on the biome:
- Snowy Forest: Coal Ore
- Forest: Lead Ore
- Wasteland: Potassium Nitrate
- Burnt Forest: Potassium Nitrate, Coal Ore, and Oil Deposit
- Desert: Potassium Nitrate, Coal Ore, and Lead Ore
Note: This mechanic changed somewhat since A17.
- GravelSurface.png
Surface Gravel.
- PotassiumNitrateSurface.png
A Potassium Nitrate deposit in a Wasteland.
Ore Veins[ | ]
Random ore deposits are spread across the world underground in Navezgane and in randomly generated worlds. Veins of Iron Ore, Lead Ore, Coal Ore, Potassium Nitrate, and Oil Deposits spawn underground in all biomes (with the exception of Oil Deposits, which are exclusive to the Desert biome), but each biome will have a predominant type of ore to be encountered more frequently while mining.

From left to right:Oil Deposit, Potassium Nitrate, Iron Ore, Lead Ore and Coal Ore.
- Snowy Forest: Potassium Nitrate
- Forest: Lead Ore
- Desert: Oil Deposit
- Wasteland: Potassium Nitrate
- Burnt Forest: Coal Ore
To get to the predominant ore, you can dig down further from the Iron Ore found under the gravel patches. Sometimes this will lead to the predominant ore, other times it will lead to other ores, or lead to no ores at all. You can also dig a shaft down to the stone layer and start digging in a straight line - eventually, you will hit the ores.
Notes[ | ]
- There tend to be around 6 layers of a biome's topsoil before a player will hit Stone and ores.
- The easiest way to locate an ore vein is to locate a patch of Gravel and start digging down.
Digging and Structural Integrity[ | ]
Structural Integrity should be minded while clearing tunnels underground, as how much integrity connected blocks basically depends on how far on a chain it is from an unbroken stack of blocks reaching down to bedrock, the bottom-most layer of the world. Tunneling has the potential to compromise the structural integrity of buildings on the surface and collapse them, and carving out caves too large can cause cave-ins, so bring blocks to use as support pillars (e.g. Wood Frames) to boost any structural integrity lost while digging.
Notes[ | ]
- Try to dig tunnels as narrowly as possible.
- Lighting is very important while mining. A Torch, Candle, Mining Helmet, or a Spotlight can help you see while mining.
- If your mine is directly accessed from your house, be sure to build a secure door to prevent other players from accessing your house, should they manage to dig into your mine. Hatches can also be used to create a straight down path to your cave/bunker.
Caves[ | ]
With the introduction of caves into the Random World Generator and Navezgane, mining during cave exploration (spelunking) has become the most efficient means of obtaining mined resources. Large veins of ore are commonly exposed in cave walls. The trade-off is that caves are widely spaced apart in the world, and are usually in the middle of nowhere.
Exploring a cave system to uncover a specific ore type can be time-consuming and dangerous, so be prepared with sufficient resources and lighting. Ores do not appear to be distributed evenly along with the caves and tunnels, nor do they spawn in as close adjacency as before, and are not always surrounded by gravel. Caves and tunnels often connect into larger tunnel systems, and can quickly become maze-like, so marking your trail is always a good idea. Steep tunnels and sharps drops are also common, so ladders, Wood Frames, or other climbing resources are highly recommended before spelunking expeditions.
Zombies and bears will spawn in caves, but can also contain the Feral Wights and zombie bears. Hordes do not appear to spawn inside caves as of yet, so players sufficiently deep enough to throw off the zombie AI need not fear a flood of zombies.
Notes[ | ]
- Stalactites and stalagmites can be harvested for Nitrate Powder.
- The hanging moss in caves can be un-hittable at some angles, and may also prevent the mining of blocks past it.
Video Guides[ | ]
Video cover of The Art of Mining Book Series, items to craft they unlock, bonuses and perks. (A18)
Quick video on how to locate underground ore veins easily (a16-A17). Note in A18 this has partially changed with "resource" boulders of the same material now spawning at some of these locations for easier visual identification.