The mining of resources is generally done with a pickaxe, but can be done with anything. Mining drains Stamina and causes your tools to lose durability. The lower your Stamina and tool durability, the slower you will be able to break blocks. With the addition of A13, you now also have skills and player levels that affect your ability to mine.
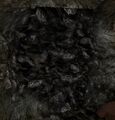
- A13IronOre.jpg
(A13) Iron Ore
(A13) Coal Ore
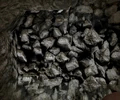
(A13) Potassium Ore
- A13LeadOre.jpg
(A13) Lead Ore
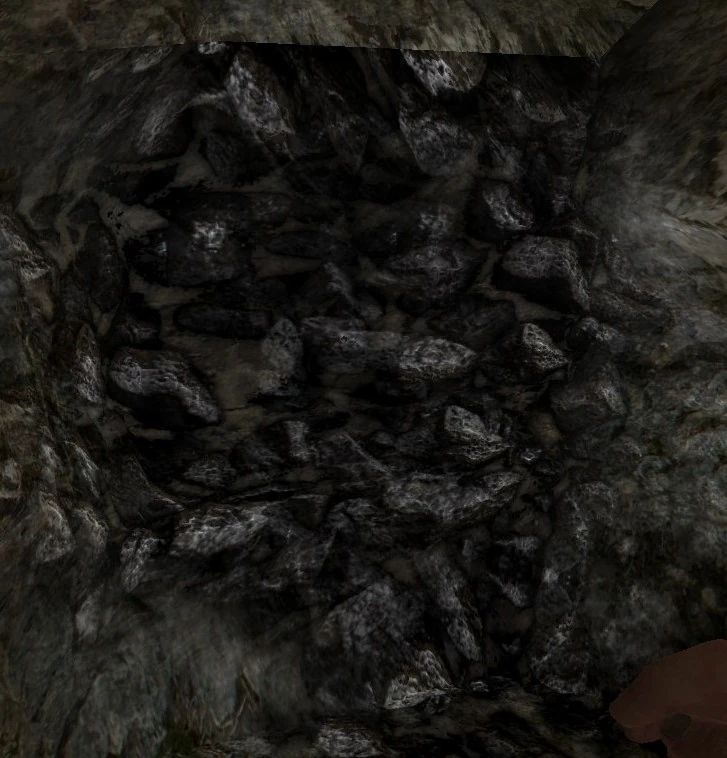
The pictures above show you what the ore looks like in game as of A13.
Basic Mining Information[ | ]
Since the Alpha 13 update, random ore deposits have been spread across the world in Navezgane and in Random Gen Worlds. Which means you can mine ore from digging down anywhere in the world and finding an ore vein. There are also caves(Random Gen only) that have ore spread throughout them as well. With A13, TFP have also starting having Coal Ore and Potassium Nitrate spawn above ground in patches that can be easily identified as ore, because of the Black (Coal Ore) texture and the White (Potassium Nitrate) texture.
- The following mineral will make a stone sound when being mined: Coal Ore, Potassium Nitrate
- The following minerals will make a metallic sound when being mined: Lead Ore, Iron Ore.
- Oil shale is now a mine-able resource. It is used in crafting Gas Cans. Fuel is used in the Mini-Bike, Auger, and Chainsaw. It is only found in the Desert Biome and approximately 20-60 blocks underground.
- Ores tend to be generated in the map as ore veins - deposits of the same ore that are placed right next to each other. As of A13, ores still spawn in various spots together, but it is more widespread and they are rarely all together in one spot.
- The most common tools for mining are Stone Axes (for early mining), Iron Pickaxes (for mid game mining), Augers and Steel Pickaxes(for late game mining), TNT or Pipe Bombs for clearing mines. Note:to detonate the TNT you must use a firearm. Note that Stone Axe mining is very time-consuming, and relying on surface boulders for rocks and iron before obtaining a Pickaxe is advised.
- To use TNT, place it where you want to detonate and use a firearm (not a crossbow) or a Pipe Bomb to detonate it safely. As of A13, the blast radius is about 4-6 blocks, so make sure you are NOT next to it when you detonate it if you like your limbs attached .
Mining Notes[ | ]
Mining a tunnel is more or less safe, however there are some things to keep in mind.
- As of A14, Iron Fragments and Iron Ore have been removed from the game. Mining Iron now produces Scrap Iron.
- A13 has changed mining a little bit . Instead of getting ores when you mine, you get Iron Fragments (Iron Ore), Scrap Lead(Lead Ore), Potassium Nitrate Pwdr(Potassium Nitrate), and Lump of Coal (Coal Ore). They are used just like the ore was used in the forge and crafting.
- Be careful if you are thinking of mining big rooms, as mining too big without supports will cause your mine to collapse on your head and possibly kill you. To counteract this make sure you leave support pillars. These can be wood frames or just about anything you want to hold the ceiling up. Bedrock is the lowest you can as of A13 and is where the game calculates Structural Integrity from the ground up. Meaning if you dig to bedrock and build support pillars all the way up to your building it will be the most secure it can be in the respect of Structural Integrity.
- Be very careful of mining under buildings or your base. Since Structural Integrity is calculated from bedrock up, if you dig out under your base or under building the base or building could collapse above you! It can be done, but be careful!
- Lighting is very important while mining. Torch, Candle, or a Mining Helmet can help you see while mining that precious ore. As of A13, TFP has added Mobile Spotlights (crafted through the crafting menu) that also work wonders in lighting the way down long corridors.
- A bunker is a good safe house, however it can be difficult to get food and water. Zombies can't dig down yet(A13), but dogs and cops can damage the ground and sometimes dig to you, so always have a second way out of your Bunker house.
- Be careful if entering an already formed cave, sometimes zombies and bears can spawn in caves with you!
- If your mine is directly accessed from your house, be sure to build a secure Door to prevent other players from accessing your house, should they manage to dig into your mine. Hatches can also be used to create a straight down access to your cave/bunker
- As of A13, there aren't really layers per se, but you will have the normal dirt at ground level, then stone usually starts about 20-30 blocks deep. You will find the ore veins mixed in with the stone level and then the lowest kind of stone you will find digging down is Bedrock
Bedrock will be found at the bottom of the world, preventing a mine from going any deeper. It is nearly indestructible and it where the world gets its stability from.
Cave Tips (Random Gen only)[ | ]
With the introduction of caves into the Random World Generator, cave exploration (spelunking) and mining have become the most efficient means of obtaining mine-able resources. Large veins of ore are commonly exposed in cave walls, making their harvesting quite easy once found. The trade-off is that caves are widely spaced apart in the world, and usually in the middle of nowhere, requiring the player to travel from their established base to mine.
Exploring a cave system to uncover a specific ore type can be time-consuming and dangerous, so be prepared with sufficient resources and lighting. Ores do not appear to be distributed evenly along the caves and tunnels, nor do they spawn in as close adjacency as before, and are not always surrounded by gravel. Caves and tunnels often connect into larger tunnel systems, and can become quick maze-like, so marking your trail is always a good idea. Steep tunnels and sharps drops are also common, so ladders, Wood Frames, or other climbing resources are highly recommended before cave diving expeditions.
Zombies and bears will spawn in caves, and are home of the fearsome Feral Zombie and zombie bears, so don't forget a weapon or two. Hordes do not appear to spawn inside caves as of yet, so players sufficiently deep to throw off the zombie AI need not fear a flood of zombies.
Additional Tips and Issues
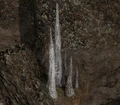
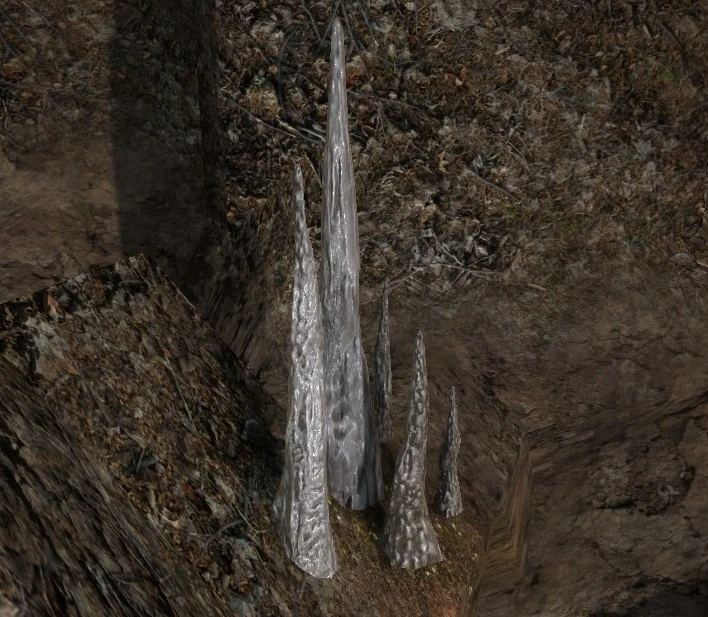
- Mining stalactites or stalagmites drop Potassium Nitrate
- Subterranean lakes will often have ores beneath their surface; use Wood Frames or other recoverable blocks to 'dam' the water to access them(as of A13 there are no lakes underground anymore)
- The hanging moss in caves can be un-hittable at some angles, and may also prevent the mining of blocks past it
- Ores can sometimes be hidden behind gravel.
- With the introduction of A13, when you mine you gradually get resources and you can watch the hit points of a block go down. Once you hit the block the last time to destroy it you will get a bigger payout of resources to reward your hard work.
Mine-able resources[ | ]
- Scrap Iron
- Coal
- Scrap Lead
- Potassium Nitrate Powder
- Oil shale